This article walks you through the step-by-step process to manage your client calls. All databases are fully customizable so they can adapt to your particular process.
This article shows you how to:
- Customize the workflow to manage your client calls.
- Assign a client call to a team member.
- Capture details for a client call.
Before you begin:
You must already be registered on MicroDB.co sign up for a free account You must have added the marketing database template to your account. Click here to learn how
We’re happy to begin the journey with you. Let’s go!
Customize the workflow to manage client calls
In this section we’ll show you how to set up a simple workflow to manage your client calls using four tables.
- Call Directions
- Account
- Contact
- Calls
In your marketing database, click the Table List to see all of the available tables in your database.
From the list of tables, choose Call Directions to open the Table View for that table.
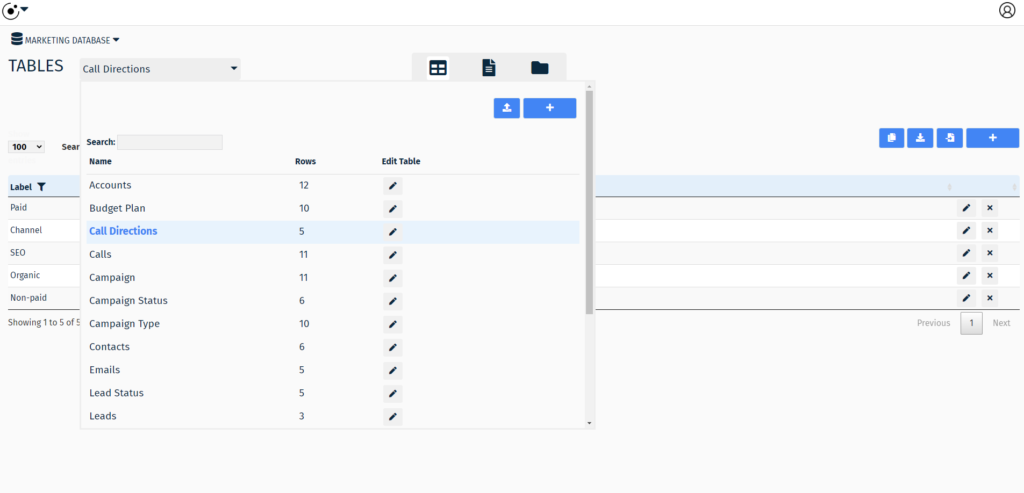
The call directions table is where you can modify each possible call direction (Inbound, outbound, paid, channel etc) to customize your client calls workflow.
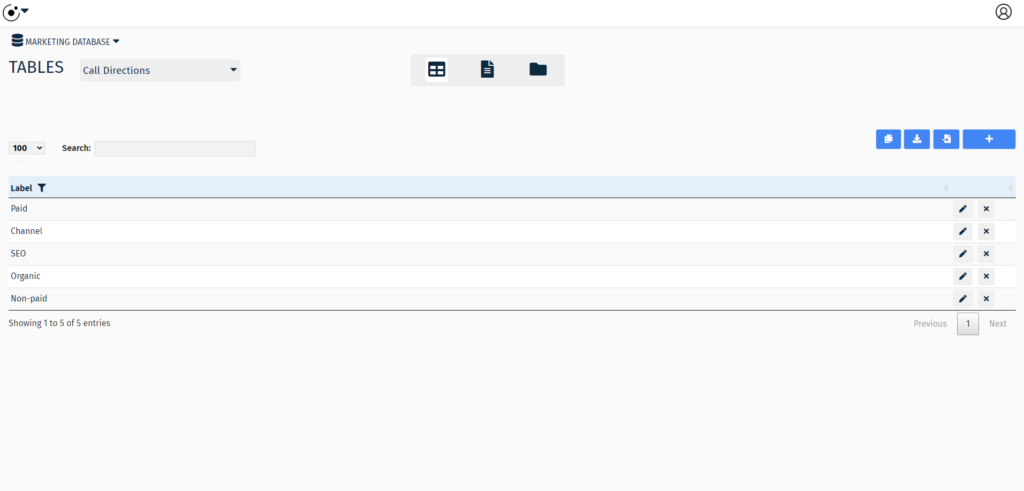
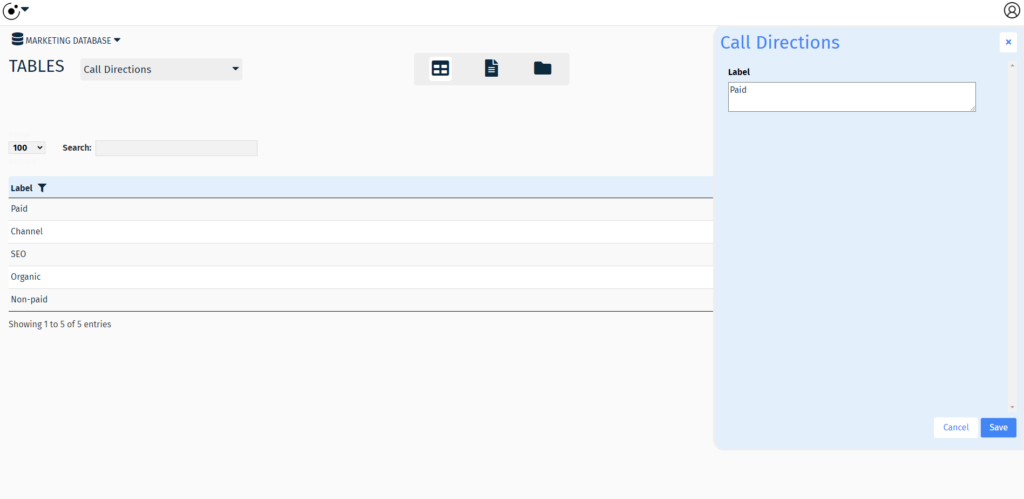
Next, modify the list of labels that best reflect your preferred call directions
Next, we’ll add an account.
Choose the Accounts table in the Table List.
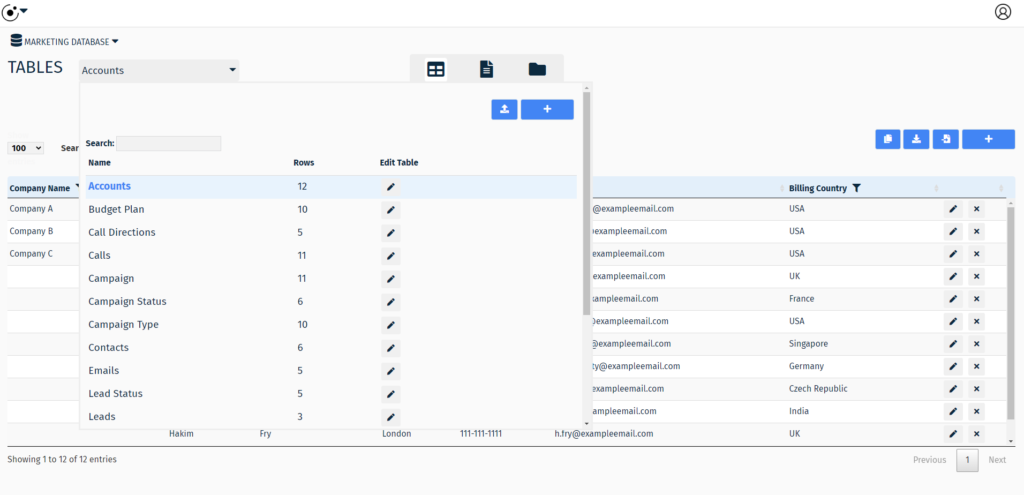
Review the column headers in the Accounts table.
Note:
A key feature is the ability to change table columns quickly. You can easily add, remove, or rename any column on any table.
To learn more see: Working with tables
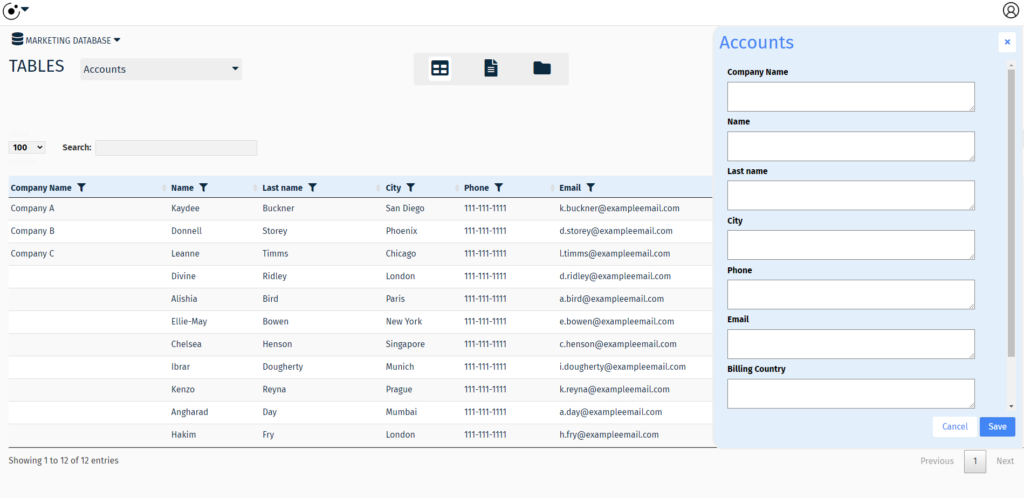
Add a new account to the Accounts table.
Next, we’ll add contact.
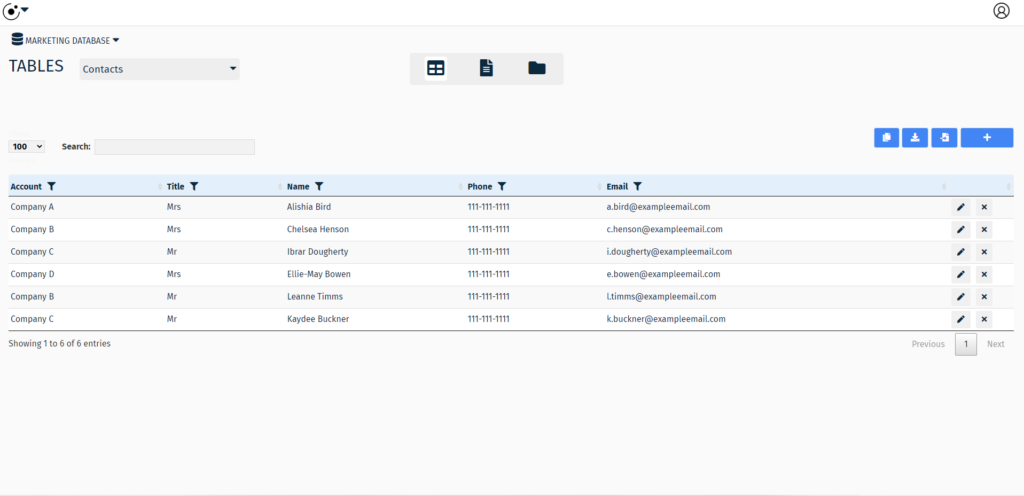
From the list of tables, choose contact to open the table view for that table.
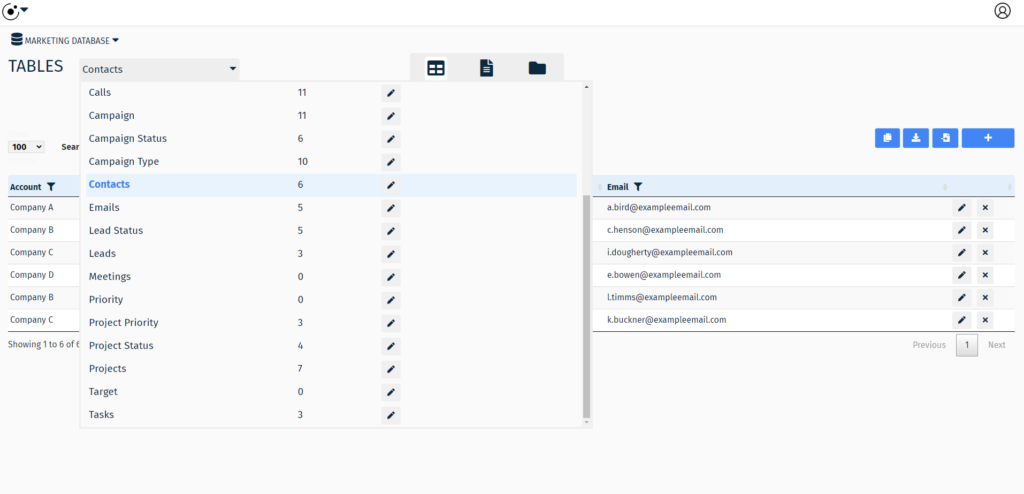
This table is where you can modify the details of your contacts.
Assign a client call to a team member
Now that we have customized a simple workflow for managing client calls. It’s time to assign a team member to a client.
Note:
To learn how to give team members access to a database see: Manage Team Access
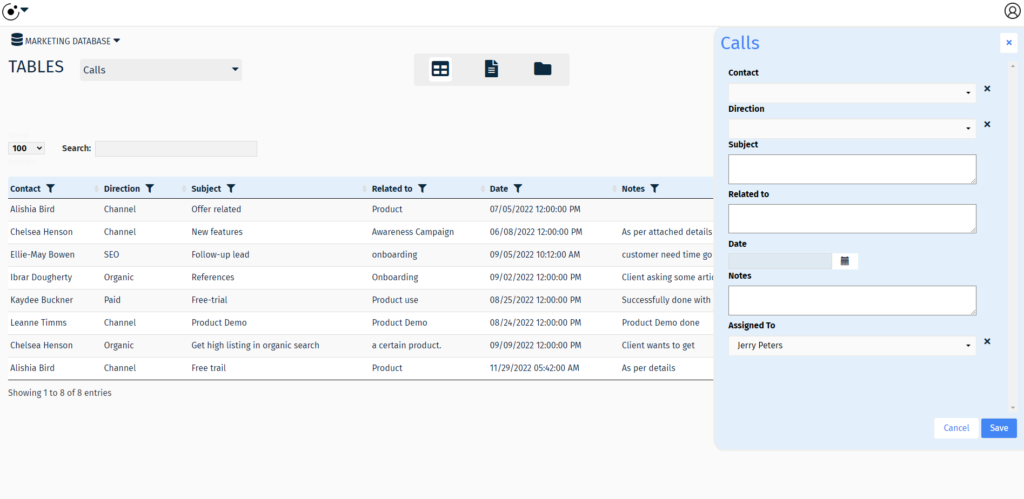
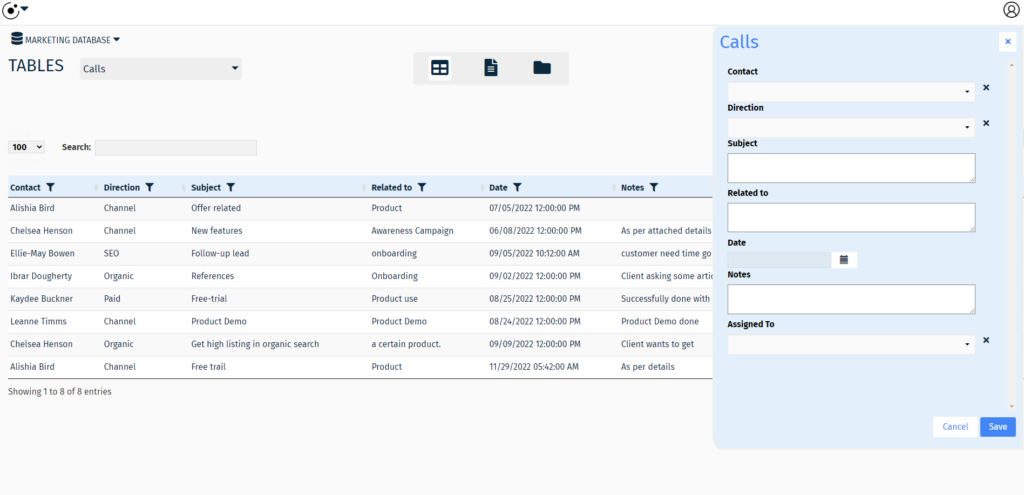
Navigate to the Calls table, click to add a new call, in the data entry form select from the ‘Assigned To’ drop down list to assign a team member, complete the form and click the Save button.
Now the team member is assigned to the calls and they can begin work.
Note:
Team members can be notified by email when they have tasks. To learn more about notifications see: Setting up Notifications
Capture details for a client call
At this point one can simply enter details for the client call and click the Save button.
The default Marketing database template comes with ready to use tables, columns and forms. However, you are free to change the columns on a table to match your specific needs.
To customize your table, add additional fields such as notes or file attachment fields as you need.
Congratulations ! You have successfully captured details for a client call.
Conclusion
This article is one in a series about the Marketing Database template. To continue learning please visit:
- Manage Marketing Leads
- Manage Marketing Campaigns
- Manage Marketing Projects and Tasks
- Manage Budget Plans