In MicroDB, notifications are a way to alert a team member when they have been assigned a record. The record could be anything such as a project task, a customer account or any other work item.
This article explains the process of setting up notifications and assigning a team member to a record so they can take action.
This article shows you how to:
- Set up a notification
- Trigger the notification
Before you begin:
You must already be registered on MicroDB.co sign up for a free account You must have added the database template to your account. Click here to learn how.
Set up a notification
Notifications are emails sent to a team member when they are assigned a task or record in a database.
Setting up notifications, require two steps:
- A database table must be configured to trigger email notifications.
- Your team members must be given access to the specific database.
Note
To learn more about setting up team access to a database, see: Manage team access
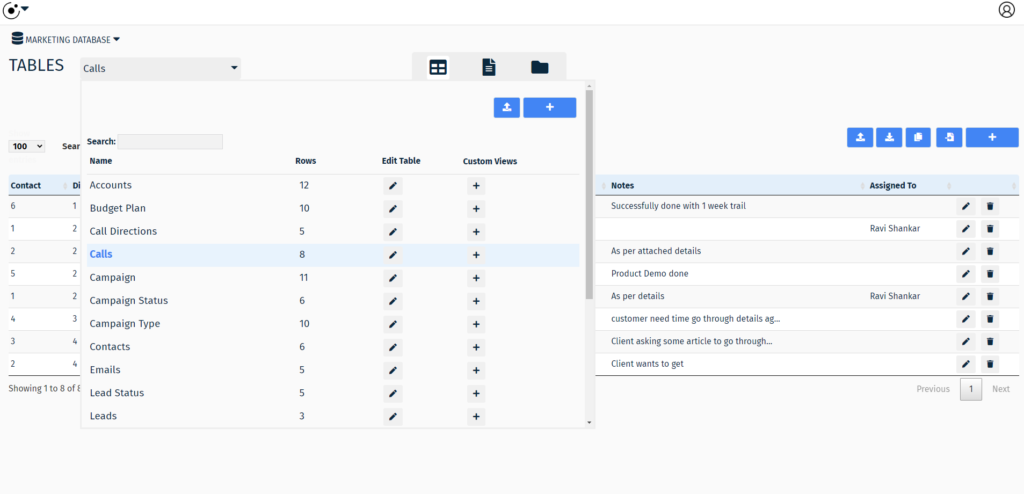
In your database, click the Table List to see all of the available tables in your database. From the list of tables, choose a table for which you want to assign a record to a team member and click the edit table icon.
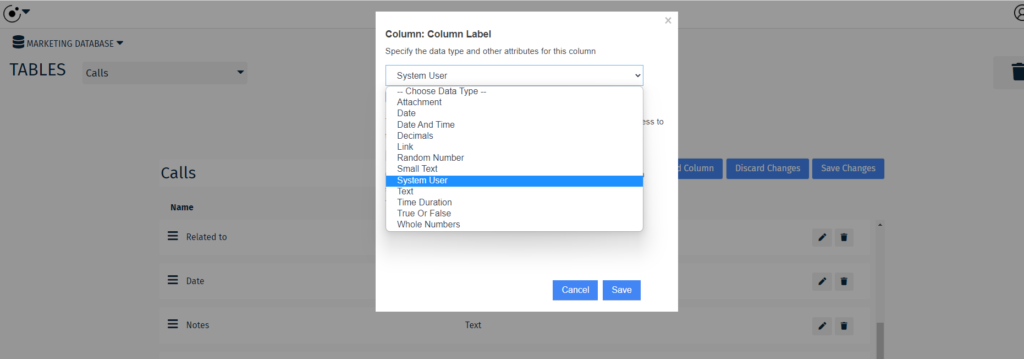
Add a new column and give it a name. For this example we’ll name the column ‘Assigned To’ and for the Data Type, click the icon to open the Data Type pop up screen.

In the pop up screen, choose ‘System User’ from the first drop down list.
Select the Notify User box if you want users to get an email when they have been selected for assignment.
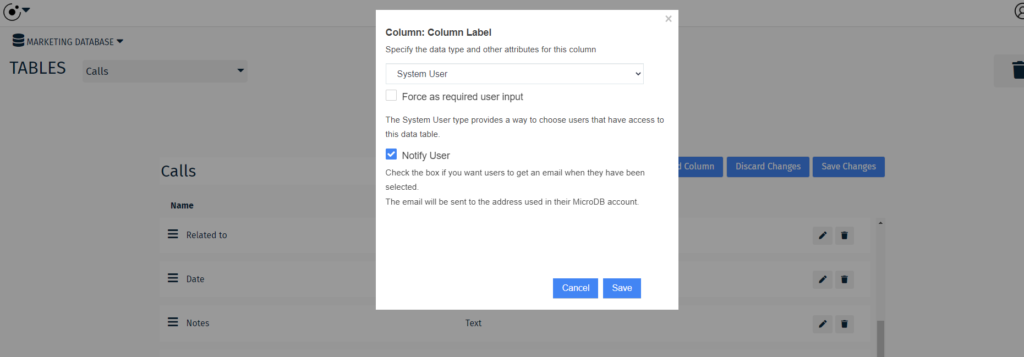
Click ‘Save’ on the pop up screen to close it and return back to the table edit screen and click ‘Save Changes’ from the top menu to apply.
Trigger the notification
In this section we’ll show you how you can trigger the notification based on our simple example.
In your database table, add a new record, in the data entry form select from the ‘Assigned To’ drop down list to assign a team member, complete the form and click the Save button.
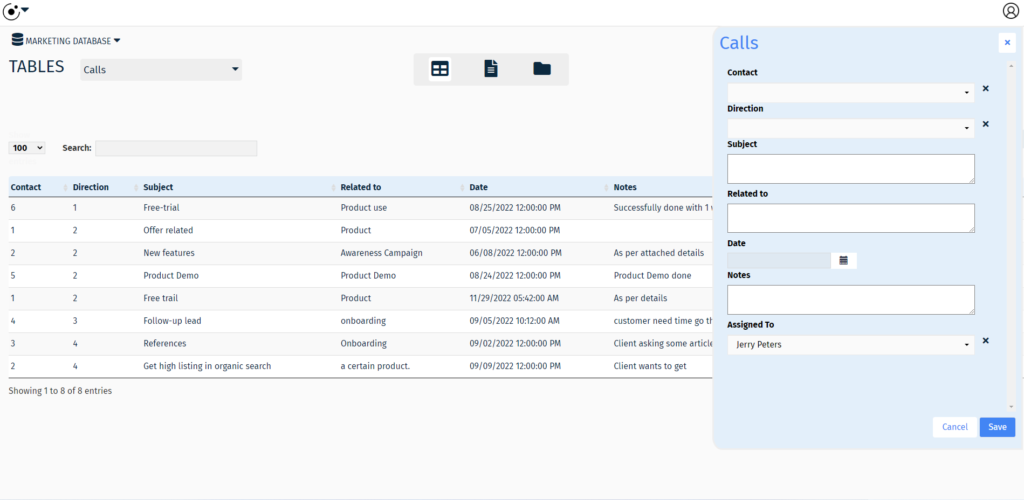
Now the team member is assigned to the record and will be notified by email about the task.
In this article you have learned how to set up and trigger email notifications. We encourage you to use notifications to help make your team more productive.
Conclusion
To continue learning please visit: