This article walks you through the step-by-step process to manage team access.
This article shows you how to:
- Add a team member
- Assign a role
- Create custom roles
Before you begin:
You must already be registered on MicroDB.co. sign up for a free account You must have added a database to your account. Click here to learn how
Add a team member
In this section we’ll show you how to give a team member access to a database in your account.
After logging in to your account, in the top left corner of the page, click the Product menu to see a drop down list of options. Choose ‘Manage Team’ to navigate to the Team page.
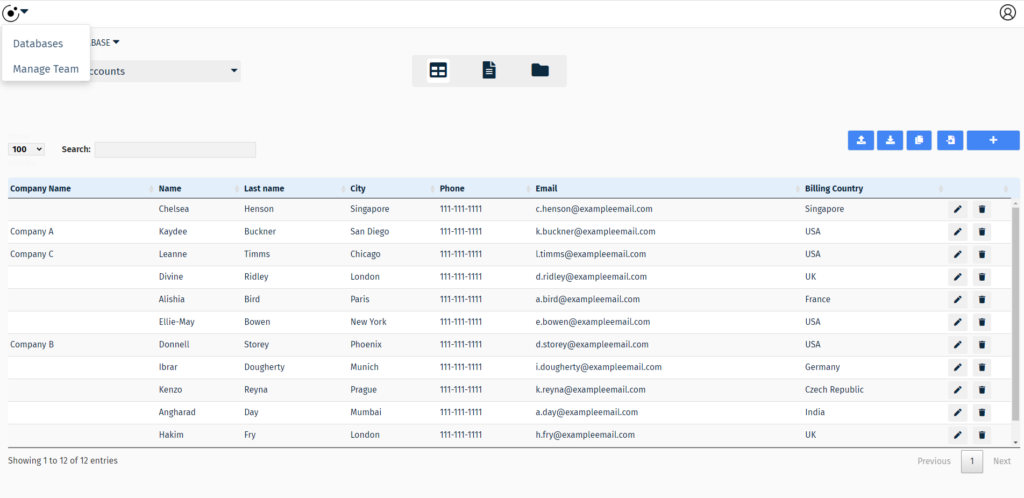
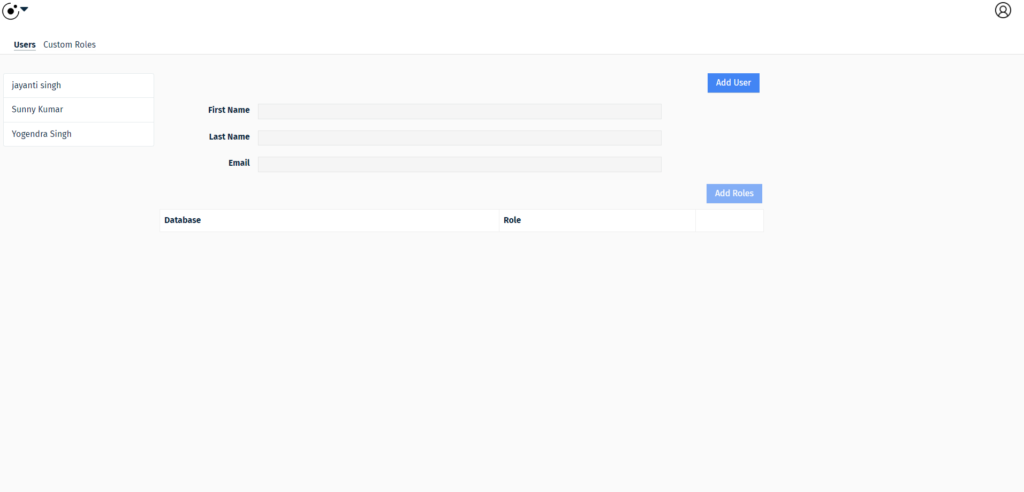
The Team page is where you can give team members access to your databases in your account.
Next, click the Add User button, enter your team member details and click save. Your team member is added to the list.
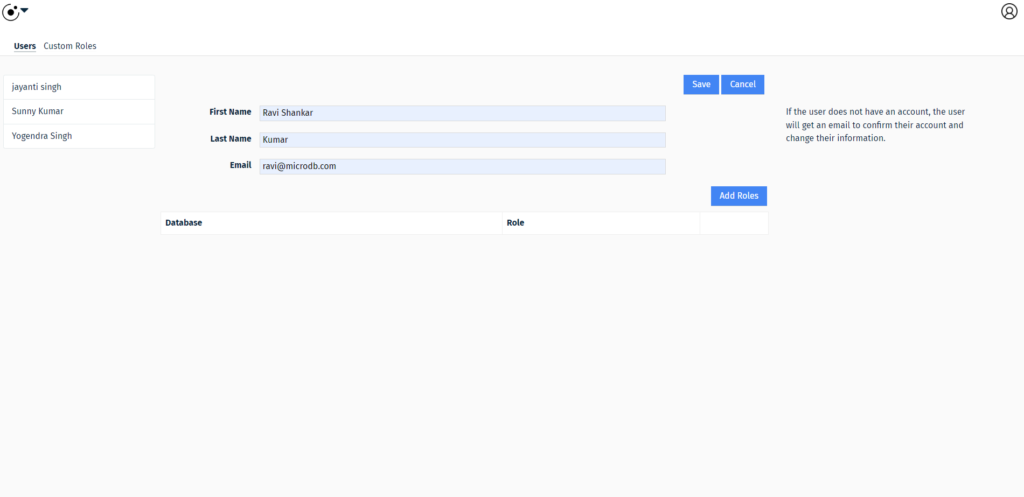

Next, after adding team members you’ll be able to choose what roles to give them.
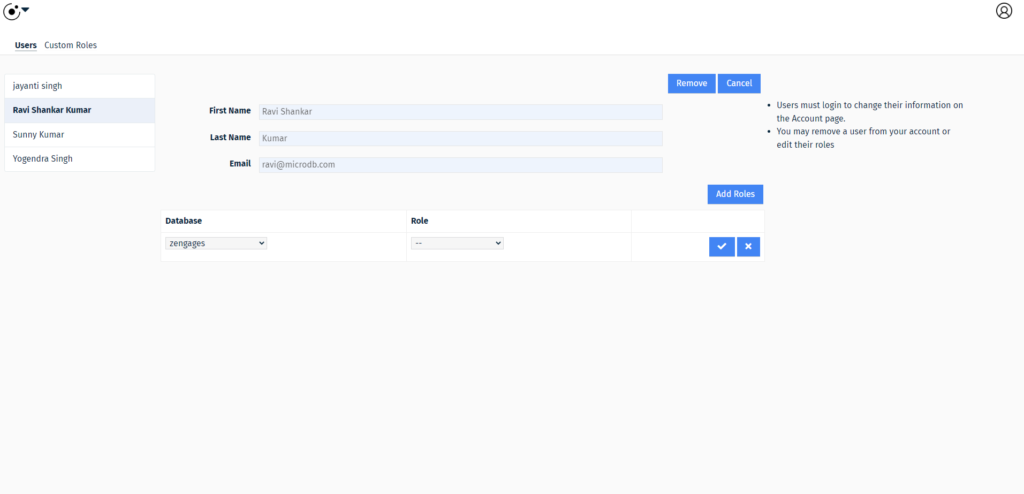
Assign a role
First, select the team member from the list and click the Add Roles button.
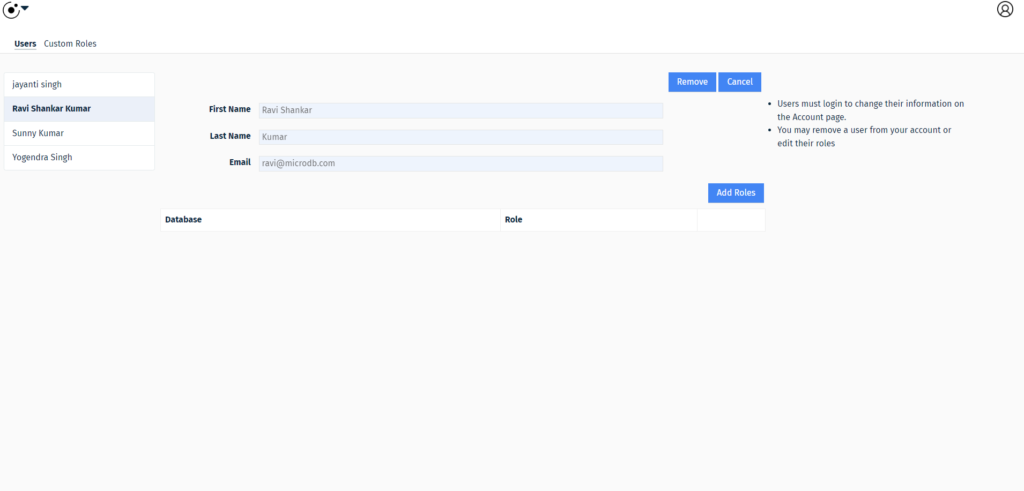
Next, select your database from the drop down list and select roles that you want to assign to team members and click the check mark to save.
Here we list the Standard roles, with a summary of the permissions for each role.
Role types :
- Account Owner : Owns the workspace account and has full access. It is the only role that can create new applications, add users and assign user roles for this account.
- DB Admin : Has full control over a specific database application. Can view all aspects including the ability to add, edit, and remove tables.
- Editor : Has full editing abilities over data in the specified application but cannot add, edit, or remove tables.
- Read only : Has the least privilege and can only view data in an application.
Create custom roles
Currently, custom roles provide two functions:
- An easy way to label and classify roles for specific team members.
- They can also be used for creating table views for limiting data access.
To create a custom role, click the ‘Custom Roles’ menu option, choose the desired database in the list.
Next, click the ‘Add Role’ button, give the new role a name and choose a role type based on a default role.
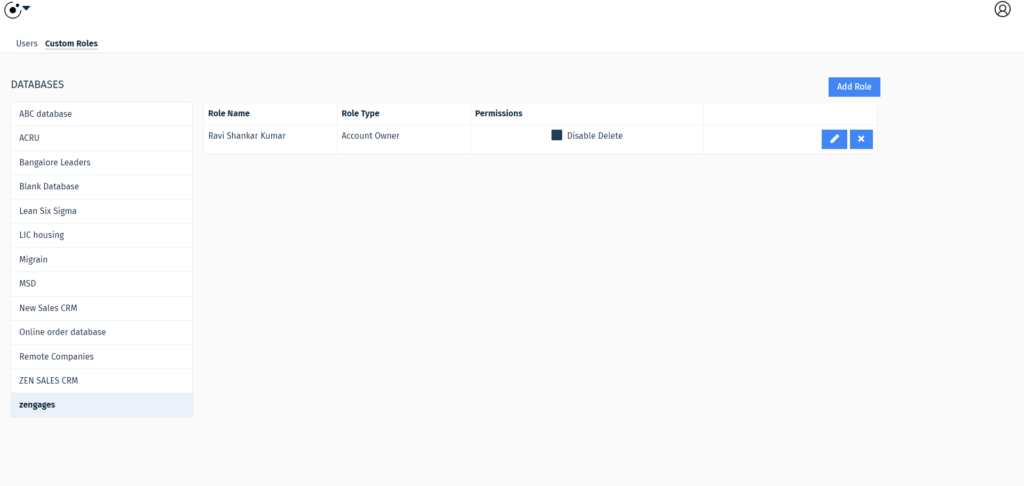
In the Permissions column there is a checkbox ‘Disable Delete’. Check the box if this role is not allowed to delete data. In the far right column, click the check mark to save or ‘x’ button to discard.
At this point you can now assign your custom role to a team member or use the role to create a table view.
Congratulations, you have successfully managed team access.
Conclusion
This article is one in a series about managing your team. To continue learning please visit: